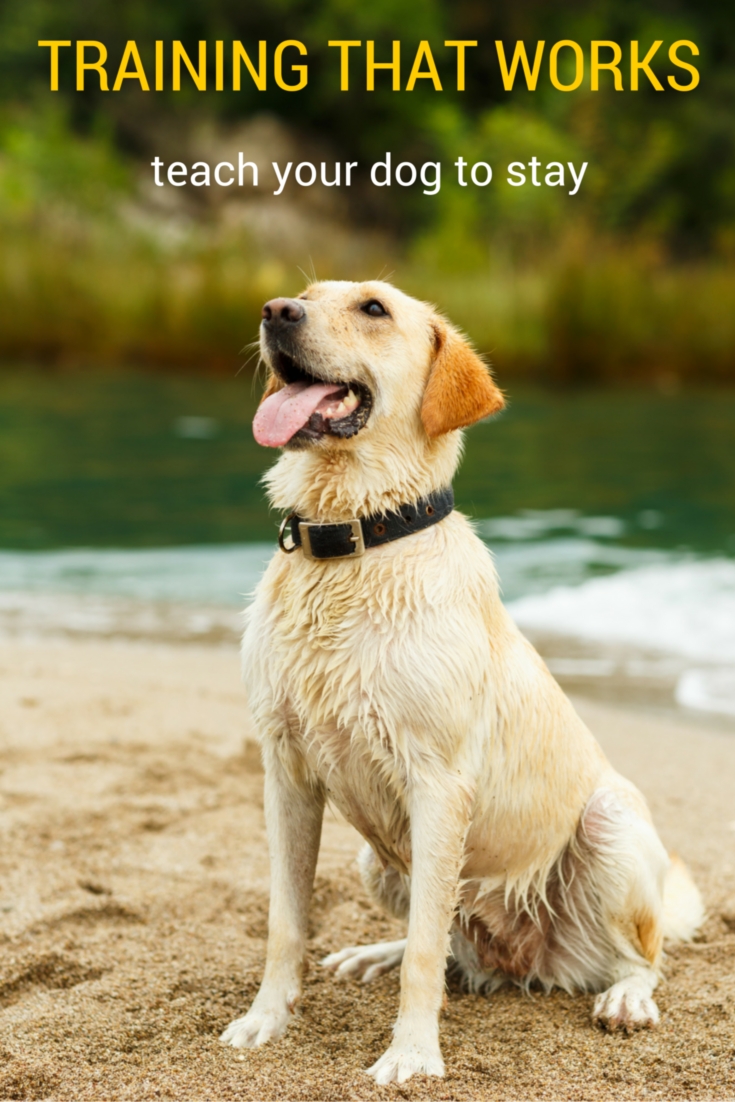
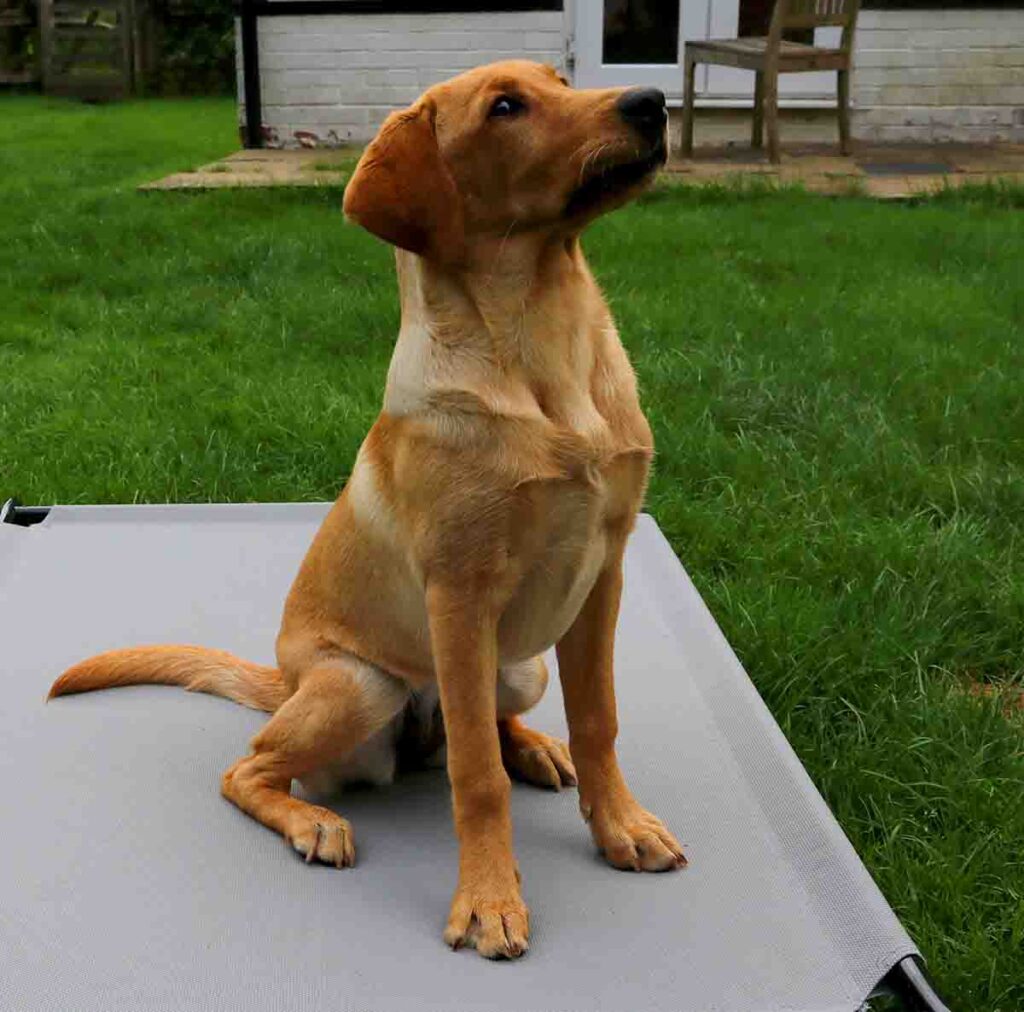
How to Teach a Dog to Stay
Stay command training is an extension of the sit or down command.
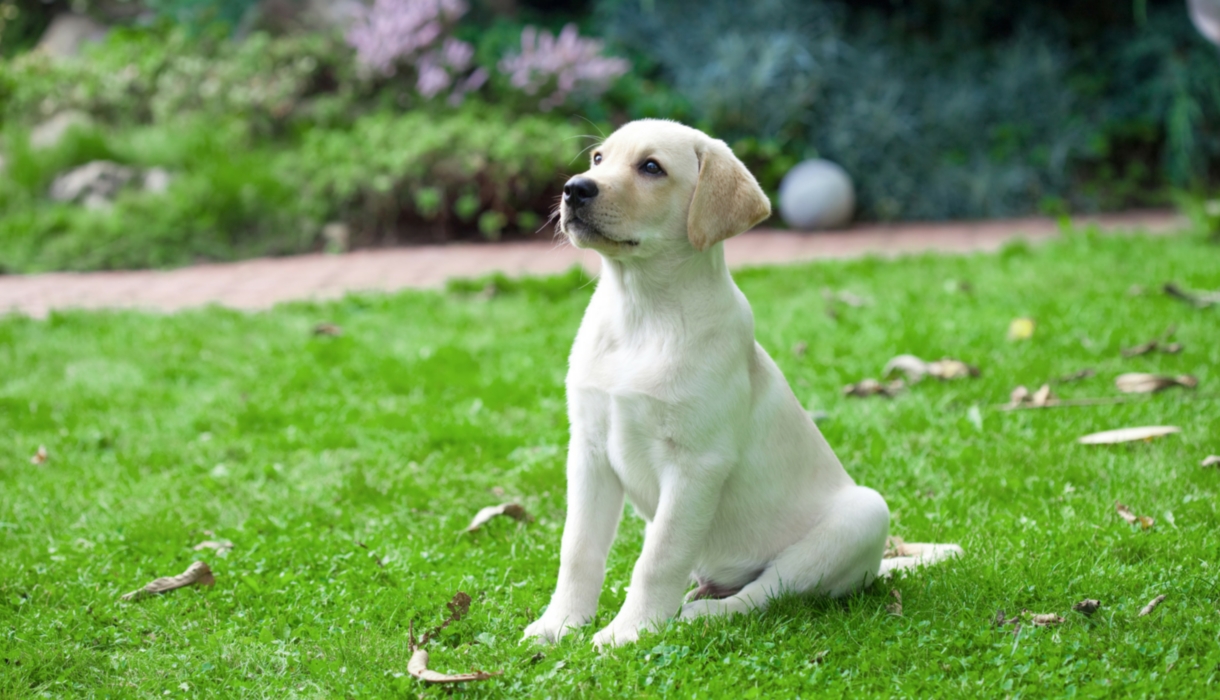
To teach a dog to stay you need to first establish a sit position, then pair that sit with a cue or command like the word ‘sit’ or a hand gesture. The stay command should initially be taught in small durations, using positive reinforcement methods. You’ll need to proof the stay command to distractions, slowly adding in more complex scenarios like outdoor settings, passersby or wildlife.
Here’s how I teach my dogs to stay in any situation. You’ll have exercises to work on, and steps to follow with diagrams.
How long should my dog stay for?
The duration of the stay should depend on several factors:
- The age of your dog
- The temperament of your dog
- How long you have been training
- The distractions around your dog
The age of your dog
Puppies have shorter attention spans and are more likely to lose their concentration.
Your dog’s temperament
More distractible or excitable dogs to learn at a slower pace than dogs of a calmer nature.
How long you have been training the stay
You need to build on what your dog can already do. If you increase duration or distractions too quickly, your dog will break the stay.
The distractions around your dog
Distractions are challenges to your dog’s attention, like people, dogs, vehicles, smells and sounds.
What command should you use for STAY?
Expert dog trainers don’t teach a stay command.
Like many trainers I never use a stay cue. When I tell my dog to sit I expect him to remain there. A stay cue implies that if you DONT say STAY, it is OK for your dog to get right back up again. You won’t be needing the word stay, your SIT cue is all you will need.
How to end the stay?
There are three possible ways for a STAY to end
- Your dog gets up of his own accord
- You give your dog another cue (come or heel for example)
- You release your dog
You’ll need to plan your training carefully to ensure the first of these three never happens.
Should you teach your dog a Sit-Stay or a Down-Stay?
We can actually teach a dog to stay in any of three different positions
- SIT
- DOWN
- STAND
But outside of the obedience or show ring, most people only use the first two. The training process is the same for either. However, for long stays, the down is a better position for your dog’s comfort.
Why won’t MY dog stay?
Many dog owners struggle to teach the stay for two reasons
- You ask for too much too soon
- You use rewards ineffectively
Too much too soon – duration
Time passes slowly for a dog on a stay, and if you wait too long they will get up.
The answer is to reinforce very short stays to begin with and to ensure that getting up from a stay is the last thing on your puppy’s mind.
Too much too soon – distractions
Distractions need to be introduced gradually, at a distance and reward values increased in the early stages. This is what proofing achieves.
Ineffective rewards
Some people struggle with the stay due to ineffective use of rewards. Either rewards that are too low quality for the challenging nature of the task, or rewards that are spaced too far apart.
Teach Sit Before You Teach Your Dog To Stay
We are going to train STAY with your dog in the SIT position. If you have not yet read Train Your Dog To Sit, I recommend you do so at this point.
There are five stages to teaching the SIT STAY (and all other commands). The first three stages teach the basic SIT while stages four and five teach the STAY.
- One Get It!
- Two Pair It!
- Three Teach It!
- Four Proof It!
- Five Maintain It!
Remember there are two key parts to the SIT STAY
- stages 1-3 are for SIT
- stages 4-5 are for STAY
Once you have worked through stages One to Three of the SIT STAY – you’ll be ready for Stage Four Proof It! below.
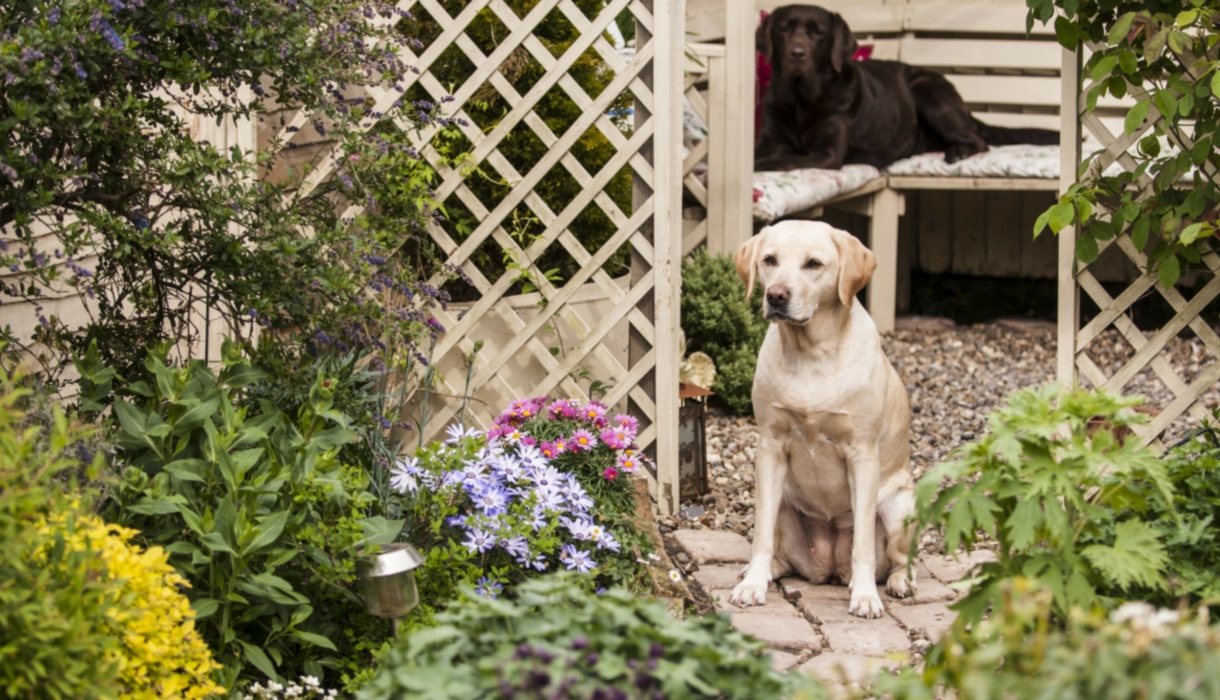
Preventing your dog from breaking the stay
During this whole training process, don’t place your dog in situations where he cannot resist breaking the stay.
Make a list of all the situations in which your dog might be tempted to get up from the SIT, before you give him permission to do so. You can then check each item off on your list as you complete the relevant training.
Distractions are not the only factor that will influence your dog’s ability to stay. We also need to think about the duration of the stay, and his position relative to you.
The 3 Ds of dog training
So there are three separate issues to consider
- duration
- distractions
- distance
These are known as The 3 Ds. And what we will do, is increase the difficulty of only one of these three factors at a time.
Important rules for teaching the stay
- when one D gets harder, make the other Ds easier
- physically prevent accidental reinforcement
- choose the right rewards
- if you mess up make things easier for a while
Rule 1
Duration, Distance and Distraction need to be tackled separately, starting with duration. And when one D is made more difficult, the others need temporarily to be made less challenging than before. So, when you first teach your dog to sit for one full minute (higher duration) have him in a quiet place without people or dogs (lower distraction) right next to you (lower distance).
When you first teach your dog to sit while people throw balls around him (higher distraction), have him right next to you (lower distance). Reduce the length of the sit from one minute right back down to three seconds (lower duration).
Rule 2
You are responsible to preventing your dog from accidentally reinforcing the wrong behavior. Rewards reinforce behavior. That is why you reinforce the behavior you want to see your in your dog, with nice tasty treats. But there are lots of ways that behavior you don’t want, can be accidentally reinforced. This is particularly likely to happen if your dog ignores a cue that you have given him.
So, not only do you need to do everything in your power to ensure that your dog does not break the stay (because this weakens your SIT cue), you also need to prevent your dog being accidentally rewarded if he does break the stay.
The best way is to set up your training session carefully. Have the ball thrown between two friends for example. So that if your dog breaks, he doesn’t catch it. Have your dog wear a trailing line on a harness so that if he wanders off from the stay without permission, you can pick up the line and prevent him playing with a passing dog. Plan ahead, and do everything you can to avoid mistakes.
Rule 3
Choose your rewards carefully. Challenging distractions require powerful rewards until your dog has mastered the right response to your cue in those situations. Do not attempt to train with praise alone.
Rule 4
If you mess up, and your dog makes a mistake, go back to an easier exercise for a few sessions. Shorten the stays if you were increasing duration, move further away from distractions, raise the value of your rewards. Set your dog up to win.
Choosing and using the release cue
Before you start training, you need to decide on that release cue. I use OK, a lot of people use FREE or BREAK or GO PLAY. Arguably, you shouldn’t use something that is commonly used in conversation, so my OK is probably not ideal. However, if you say your cue in a predictable and specific way OKAY!! Rather than in a conversational tone, your dog will probably not be confused.
Teach a Dog to Stay Stage Four Proof It!
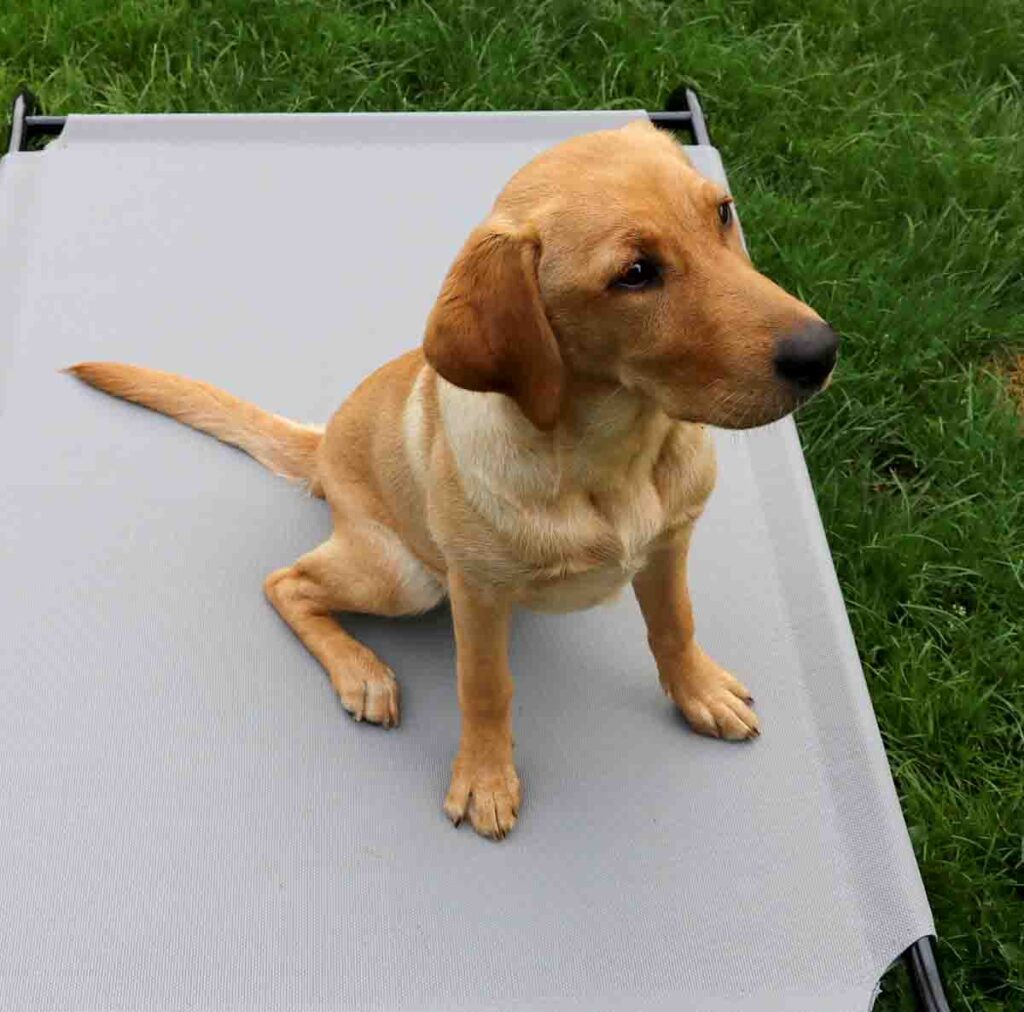
We’ll begin by teaching your dog to sit and stay for twenty seconds. Your dog must be close to you, either at your side, or sitting in front of you.
Exercise 4
1. Observe your dog and while he is standing up say SIT.
2. As his bottom touches the floor say YES
3. Throw a treat far enough from your dog that he has to get up in order to reach it.
4. Repeat several times
Exercise 5 – treat streaming for ten seconds
1. Take three treats in your hand
2. Stand close to your dog and give the cue ‘SIT’
3. As his bottom touches the floor feed him two treats one at a time at roughly one second intervals
4. Give the release cue GO PLAY and throw the third treat away from your dog so that he has to get up to eat it.
5. Take four treats in your hand
6. Stand close to your dog and give the cue SIT
7. As his bottom touches the floor feed him three treats one at a time at roughly one second intervals
8. Give the release cue GO PLAY and throw the fourth treat away from your dog.
Repeat this exercise two or three times adding more treats each time until you are feeding about ten treats to your dog in succession.
Exercise 6 treat streaming for twenty seconds
1. Take some treats in your hand
2. Stand close to your dog and give the cue SIT
3. Feed all but one of the treats to your dog, one at a time, at TWO second intervals (count one thousand, two thousand in your head)
4. Give the release cue and throw the final treat away from your dog.
5. Repeat, several times
What if your dog gets up?
If your dog gets up, stop feeding him. Wait for him to sit, or lure him back into a sit again, and revisit the previous exercise before attempting this one again.
Treat streaming – fading the treats
Treat streaming and is a great way to get some initial duration into a new behavior that you have just taught your dog, without using any kind of force or correction. Ten treats at two second intervals will give you a twenty second sit.
Obviously, you don’t want to have to shovel food into your dog continuously in order to keep him in a stay. So the next step is to lengthen the gap between the treats until your dog gets just one treat after he is released from the stay.
Exercise 7 the twenty second sit
1. Proceed as for exercise 6 but start to slip in some three second gaps between treats. Don’t bunch these all together, sandwich each three second gap between some two second gaps.
2. As long as your dog is comfortable with this you can then proceed to four second gaps etc.
3. Make a note of the following targets and tick them off as you reach them.
- Five treats fed at four second intervals.
- Four treats fed at five second intervals.
- Three treats fed at six second intervals.
- Two treats fed at ten second intervals.
Don’t go straight from one target to the next, make it easy for your dog. It is good practice to end the session on some shorter gaps and to surprise your dog occasionally with some extra good treats as the task becomes more difficult. If your dog gets up, you are increasing the gaps between treats too fast.
Once you have got your twenty second sit, and practiced it over several training sessions, you can begin to add some distractions.
Teach your dog to stay while you move around
The first distraction we introduce into a stay, is your movement. It’s important that you add this after duration (because the act of moving around takes time) and before introducing any physical distance between the two of you.
Exercise 8 – stay while I move a little bit
You’ll start by lifting up your leg as you feed your dog a treat. Just bend your knee and lift up one leg as if you were about to take a step. Some dogs will get up if you move any part of you, but the risk of this is reduced if you feed during the distraction to begin with.
- Cue your dog to sit
- Feed a couple of treats in succession
- As you feed the third treat lift your leg and put it back down again.
- Feed another treat then give your release cue and feed again
- Repeat from step one only lifting the other leg
- Then again but this time lifting an arm
- Repeat again with the other arm
- You are just establishing the principle that your dog must not move even if you do.
It is a simple thing, but if you get this right at the beginning, progress will be swift.
Exercise 9 – stay while I move a bit more
1. Cue your dog to sit
2. Feed a couple of treats in succession
3. Lift up your leg and replace it. Feed
4. Feed again
5. Lift the other leg and replace it. Feed
6. Feed again
7. Release your dog and feed
8. Repeat from 1, raising your arms instead of your legs
If your dog gets up at any point go back a step or two. When he is comfortable sitting still while you lift up either leg or raise either arm with a treat after each movement, start to omit some of the treats. Lift one leg then the other, then treat.
Once your dog can sit still while you lift either leg and then raise either arm, and then raise both arms you are really making progress. Practice these in varied order feeding a treat only on releasing your dog. Try moving more vigorously, and making your movements more pronounced.
Keep practicing until you are satisfied your dog has no intention of moving, no matter how you behave.
Exercise 10 – stay while I step away
In this exercise you are going to move a short distance away from your dog. Each time you move away from him, you will return to him to release and feed him.
Here are some goals to help you break this down into easy stages for your dog. Each time you return to your dog feed and release him.
Some Indoor Stay Goals
1. Take one step back and one step forward (to where you started)
2. Take two steps back and two steps forward
3. Take three steps back and three steps forward
4. Take one step back and turn around 360 degrees on the spot so that you end up facing your dog again
5. Turn your back on your dog. Count one thousand two thousand and turn back to face your dog again
6. Turn your back on your dog and walk one step away. Turn to face your dog and return
7. Turn your back on your dog and walk two steps away. Turn to face your dog and return
8. Take two steps to one side and back again
9. Take two steps to the other side and back again
10. Walk a quarter circle around your dog and return
11. Repeat the quarter circle in the other direction
12. Walk all the way around your dog clockwise
13. Walk all the way around your dog anticlockwise
14. Take five steps back from your dog and return
15. Turn your back on your dog, walk five steps away, then return
Take your time
Don’t try and reach all these goals in a single session or even week! Early success makes for swifter, better results later when training gets harder. You can also add your own goals. For example, you could ask your dog to stay while you
- Switch on the kettle
- Sit in a chair
- Sing
- Jump up and down
- Open and close a door
The more you practice, the stronger and more reliable this fledgling ‘stay’ will become. If you think your dog will find a goal difficult – break it down into stages. For example, touch the door handle, then open the door a crack and so on. You can also add some more duration to the stay at this point. If your dog is over six months old, work your way up to a two minute stay.
Take your time and err on the side of caution.
Teach a dog to stay outdoors
Training outdoors is a new distraction for your dog. Of course, you won’t be introducing difficult distractions like other dogs or people at this point, but the new environment will in itself be a distraction. So everything else must be made more simple.
Go back to exercise 8, 9 and 10 before moving onto 11.
Rewarding your dog outdoors
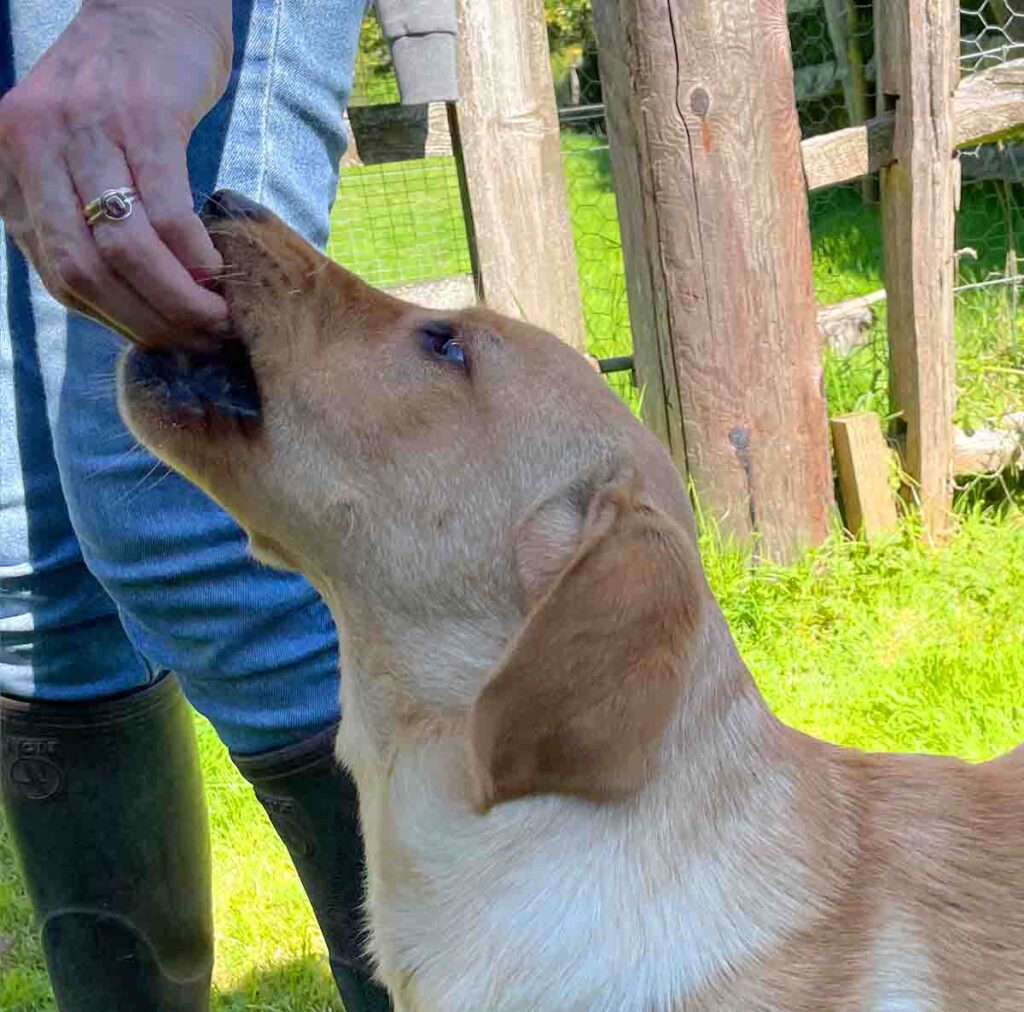
Indoors you were able to throw food on the floor. Throwing food on the floor outdoors is not quite so practical, especially on grass, so you’ll need to release your dog and feed him by hand.
Alternatively you can use a toy to reward him. A few seconds of tug play or a fetch of a ball make great rewards especially when dogs begin sitting for longer periods. Choose whatever your dog will like best.
Exercise 11 – walking the T

For this exercise imagine a large letter T on the ground. Start with a T that is not more than 2 or 3 yards in height.
1. Sit your dog at the foot of the T and walk up to the cross bar.
2. Instead of returning to your dog, when you reach the top of the T step sideways along the bar to your right, and back to the centre.
3. Then repeat to the left.
4. Now return to your dog as before and release/reward him
5. Repeat step 5, making the T a little larger as you go on.
6. Start walking purposefully up and down the bar, instead of just stepping from side to side.
7. Make the T up to ten yards in height, but finish each training session on a smaller T.
8. As you progress you can add some body movement (yours)
You can bend down and touch the ground at each end of the T bar, do a little jump, or clap your hands. Watch your dog carefully. If at any point your dog seems unsure, simply go back to an easier stage and practice a little more.
Exercise 12: Walking the clock
In this exercise you will accustom your dog to sitting still whilst you walk in a circle around him at a distance of ten yards. It can help to imagine your dog is sitting in the centre of a clock. The distance from the centre of the clock to 6 o’clock will be only a couple of yards to begin with.
- Sit your dog up in the clock centre and walk to 6 o’clock.
- Turn to your right and walk around the perimeter of the clock as far as 3 o’clock.
- Now about turn and return to 6 o’clock.
- Now return to your dog, release and reward
- Repeat this in the other direction (walking towards 9 o’clock)
Repeat, increasing the distance you travel around the clock, alternating to your right and to your left. Walk as far as two o’clock and ten o’clock, then one o’clock and eleven o’clock. Soon you’ll be able to walk the entire perimeter of the clock first in one direction, then the other. At this point you can begin to make your clock gradually bigger.
Increase the distance from the centre of the clock to its edge one yard/stride at a time. Make sure your dog is successful several times at each distance before moving on to the next.
How far should I go from my dog when I leave him on the stay?
Keep to a circle with a maximum five yards radius for four month old puppies. Up to ten yards for five and six month pups. If you have a big enough garden, and your dog is seven months old or more, you can take the circle out to twenty yards or more from your dog.
Be aware that the further you go, the harder it is for your dog to see and smell you, and this is very challenging for some dogs
Other ways to make the stay harder for your dog
You can make things more interesting by including short periods where you are actually out of your dog’s sight and building on those. Your disappearance is another form of ‘distraction, and each time you add some new distraction, you need to make it easy for your dog to succeed by staying closer to him.
Up until now, you have trained well away from serious distractions. However, it is now time to grasp the nettle and get to work on these. The two biggest challenges for many Labradors when left on the stay, is the presence of other dogs and people.
Teach a dog to stay when there are other people in your home
Many Labradors are extremely friendly and find it very hard to sit still when an exciting visitor approaches them. To train your dog not to move in these situations, you are going to need some helpers.
Choosing your assistants
You will need to choose your helpers quite carefully. Children under ten are rarely very good at this. You need a person who will follow your instructions to the letter. The person helping you must not give your dog any feedback if he makes a mistake. One badly timed kind word, or any attention at all from your assistant, and you may have inadvertently rewarded an error.
As always you will reduce the distance between you and your dog, and make sure that the sit is as easy as can be in all other respects. Once your dog has mastered the new distraction at close quarters, you can increase duration/distance etc again. In this case we will take the training session back indoors to where you first started training. And we will introduce the following distractions to him, one at a time.
- Person enters the room
- They circuit the dog
- Person strokes the dog
- They feed the dog
It is a good idea to add some more duration to the sit before starting exercise 13. Take the sit up to a minute using the treat streaming and treat fading techniques you used in the previous exercises. Let’s give you some examples now.
Exercise 13 Sit while a person enters the room
You will need a pre-arranged signal with your helper. You will be in one room with your dog. Your helper will be in an adjoining room. Tell your helper that he is not to enter the room you are in until you give the signal ‘enter’. To begin with he won’t enter the room completely, just open the door a crack and pop his head around it.
- Cue your dog to sit – remain close to your dog
- Say ‘enter’ to your helper
- Your helper should open the door a little bit, put his head round sufficiently for your dog to see him and close the door again
- Release and reward your dog
- Repeat from 1
Progressing the exercise
To progress the exercise, have your helper step momentarily into the room and withdraw, then step into the room and walk about briefly without coming near to your dog. If your dog will struggle with this, use treat streaming to begin with. Eventually, the helper should be able to walk all around your dog without him moving. And then to gently stroke him.
Finally you can have the helper approach the dog and give him a treat from his hand. Some dogs will find this much harder than others.
Remember that your dog only knows how to sit for one minute. If your helper takes too long, your dog may get up simply because he doesn’t realise a sit can last this long. If necessary practice longer duration sits before moving on. Once your dog is reliable at this exercise, you can, if you wish, make it harder by putting some distance between you and your dog before you cue your assistant to enter the room.
Try and practice polite sitting indoors with as many different helpers as you can. You can also practice in your yard or garden by having helpers come out of the house or via a garden gate.
Once your dog can sit and stay for a minute or so, and can remain seated even if visitors come into the room. It is a good practice to teach him to stay in his basket while you have your evening meal. For a long stay like this, you really need to use the DOWN cue and you can find instructions for that in this article: Teach your dog to lie down and stay Now it is time to go back outdoors and practice the sit stay around strangers.
Teach your dog to stay when people approach him outdoors
When you are training your dog in public it is important to ensure that he stands a high chance of obeying any cues you give him. And that he cannot help himself to rewards if you mess up! You have much less control in situations like this if you are relying on the behavior of strangers.
So practice with a helper first whenever you can. And have your dog wear a harness and long line until he is reliably competent at responding to your cues.
Exercise 14 Sit while people pass by
You know what to do now, so I’ll just give you some ideas for goals. Remember that the closer people are to your dog, the more tempted he will be to move. Make a check list of challenging situations and tick off when you are happy your dog will not break the stay.
IMPORTANT: If you doubt your dog’s ability to obey your cue in any given situation, don’t give the cue.
It is better not to practice at all, than to set your dog up to fail. Use treat streaming where necessary to get the stay established in new situations. Here are those goal ideas – check that your dog can sit and stay when
- He can see people moving about in the distance at least 50 yards away
- Your dog can see people moving about at least 30 yards away
- He can see people approaching and going past him at least 10 yards away
- Someone walks past him within two yards
- Someone walks past him almost touching him
Where to train
The kinds of locations you can practice these skills are parks and beaches, especially early morning or on dull days when there are less people about. Parking lots early in the morning can be good early training venues too. Later you’ll be able to practice in busier places, including town centres. Although your dog will be leashed around traffic, it is still important for him to be able to sit and stay while you speak to people, or while people greet and pet him.
Teach your dog to stay while other dogs pass by
You can teach your dog to remain on the stay while other dogs walk past in just the same way as for people. Use the exercises above as a guide. The helper will need to walk past you at decreasing distances, starting far away.
Work your way up to a point where your dog can sit still while the helper dog is walked all around him in a circle.
Coping with real life
Again, once you are out in public relying on strangers, you will have less control. Only use your SIT cue when there is sufficient distance between you and the strange dog to give your dog a great chance of succeeding.
It isn’t reasonable to ask your dog to sit while other dogs sniff or poke him. If you think he is going to get up, release him.
Anticipate trouble. People will sometimes run past your Labrador, engage you in conversation or pass food in front of your dog. Get helpers to act out these distractions before they happen to you.
Stage 5 – Maintain It!
So, you now have a dog who responds to your SIT cue in all kinds of tempting situations. Now all you have to do is regularly practice and maintain your stay.

Free Labrador Updates!
Get my training tips, news, reviews, and the latest from The Labrador Site delivered to your inbox
Thank you ! Great article. My choc lab is almost four and still needs reinforcement. Just today I was waking hi on leash when a neighbors little dog, off leash came running up to Mo with his frantic owner behind him. Mo was a good boy and stayed calm and in a sitting position until she retrieved him. Again, good article.
Brilliant instructions! If only the dog school we’d attended had known these instructions I’m sure we’d have progressed far better. And if only they hadn’t compared us and let each person and her dog progress at their own pace. Instead, my very immature boy and I (who was very unskilled in dog training) were forced to “keep up” with the rest of the class, resulting in broken stays and his learning that there are many rewards “out there” (interesting smells to sniff, other dogs to play with, etc, etc!).
Thanks Marilyn, glad you found it helpful. 🙂